

The cheapest solar installation is the one that was drawn before the walls went up. On a finished house every cable runs on the surface, the earth pit goes wherever there is still soil, and the inverter ends up on whatever wall is free. On a house under construction all of that disappears into the structure. We are increasingly asked to sit with the architect at planning stage, and this article is the list we bring to that meeting, from three houses where it was done properly: an 8 kW system at Vennala, a 5 kW hybrid with a solar car porch at Ranni, and a 5 kW elevated system in Kannur.
Decide where the panels go, and what they must not touch
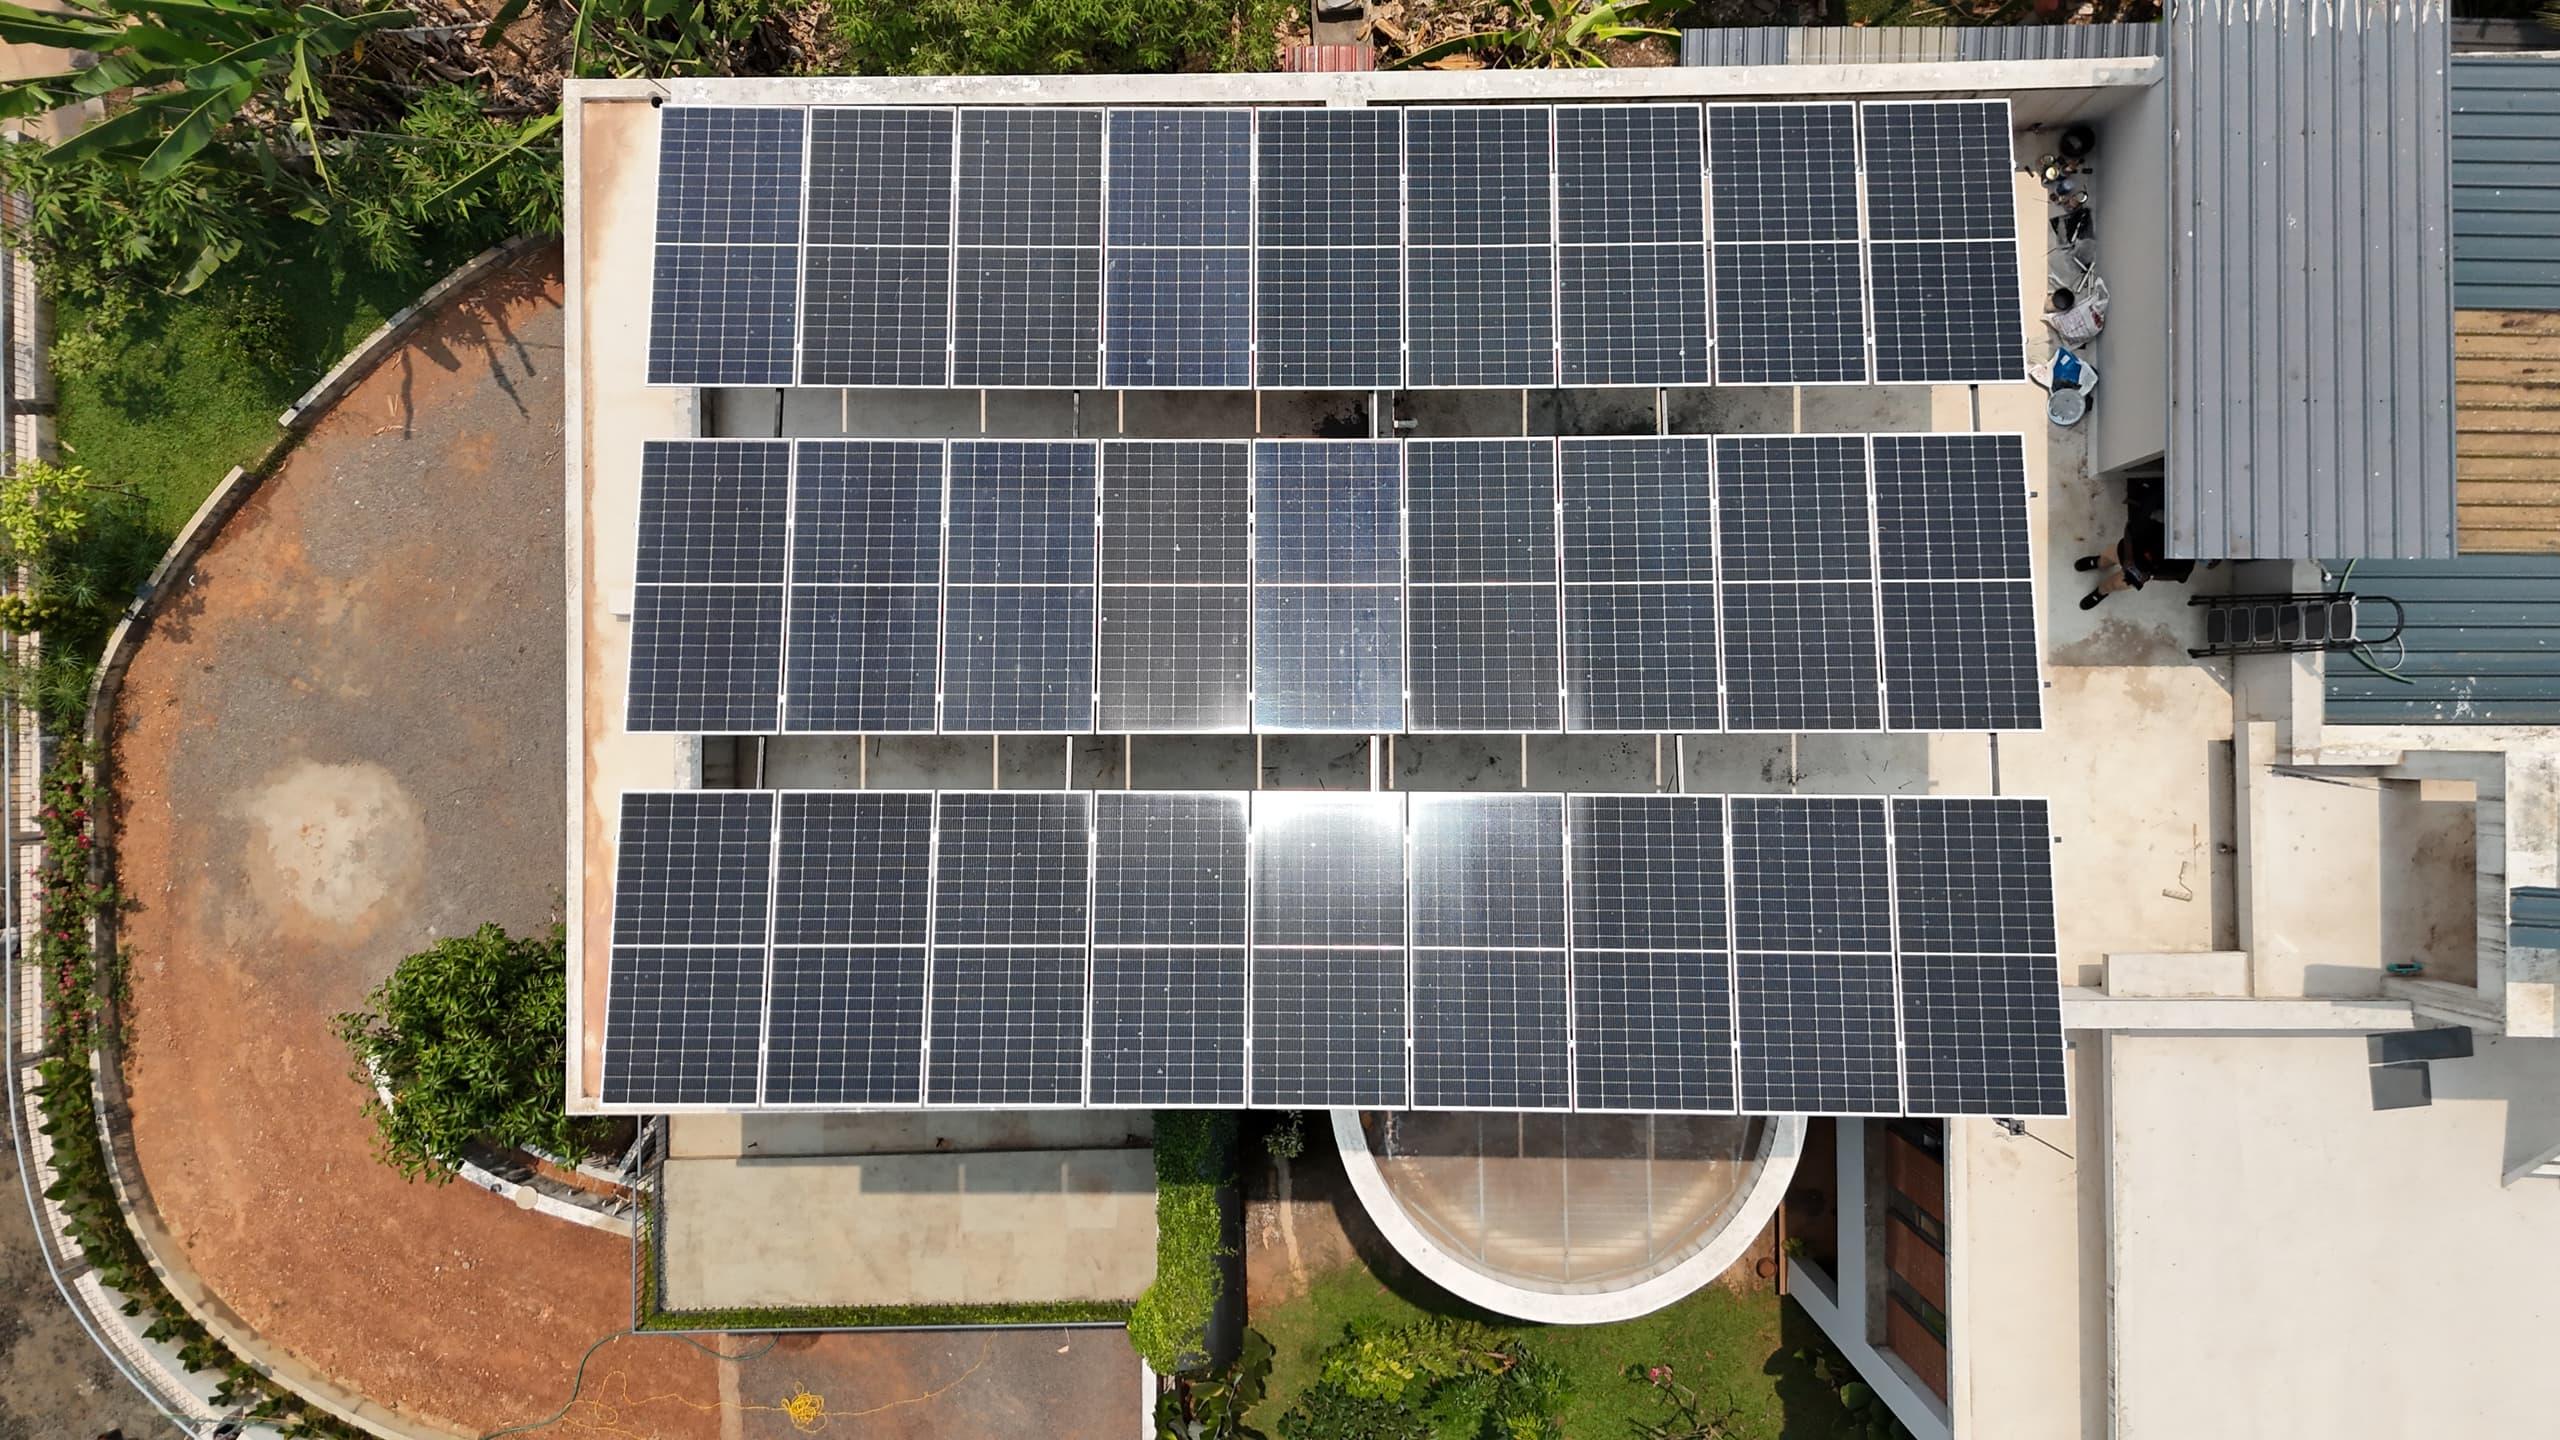
At Vennala the owner's first instruction was that no panel should be visible from the front of the house. The roof is a good flat area, but instead of spreading the array across it we pushed the panels to the back on an eight-pillar elevated structure, two rows, sized so that the air conditioner outdoor units, the overhead tank and the pressure pump all sit in its shade. That kind of layout is only possible when the tank and the AC units are being positioned at the same time as the panels. On a finished roof you work around whatever is already there, and the result is scattered.
The same conversation at Ranni produced a car porch that carries the panels, because the house roof is pitched at 45 degrees and south-facing panels on it would have dominated the front elevation. The porch design came out of one meeting between the architect, the contractor, the owner and us.
Conduits and cable routes
This is the big saving. At Vennala the DC cables from the array, the AC cable to the meter, the earthing conductors and the lightning arrester's down conductor all run in concealed conduit; not one pipe is visible on the outside of the finished house. We marked the routes for the electrician at the stage when the wall chases were being cut for the house wiring, and the solar conduits went in alongside. The panel erection and inverter mounting happened later, during finishing. The main feed to the meter is an underground cable laid before the yard was paved.
If you do nothing else, do this: ask your installer for a conduit plan before plastering. A 40 mm conduit from the roof to the inverter location and another from the inverter to the meter box cost almost nothing at construction stage and are impossible to hide afterwards.
An electrical room, or at least a wall
The inverter, the AC and DC distribution boxes, the earth bench and, for a hybrid, the batteries need a dry, ventilated, accessible place. At Vennala the house has a separate electrical room and the inverter shares it with the indoor unit of the centralised air conditioning. At Ranni a grilled, meshed room was built onto the porch for the inverter and battery bank, with the airflow batteries need. On a finished house these end up in a corridor or a car porch. Decide the wall now, and keep it close to both the array and the meter: the shortest DC run has the lowest loss, and both the Vennala and Kannur systems were laid out around that.
Earthing and the meter box
Earthing needs soil. At the Kannur site the interlock paving was going down as we arrived, and we were able to sink the earth pits and bring the conductors up before it was laid. Try doing that a year later. The same site had the meter box built with a spare pipe for the solar connection and a concealed box for the solar net meter already provided, so that when KSEB came to fit the meter there was no drilling and no surface conduit.
A lightning arrester with its own down conductor and earth, separate from the system earth, is also far easier to route through a building under construction than over a finished one.
Size the inverter for the house you will have, not the one you are moving into
At Vennala the owner installed 8 kW of panels behind a 10 kW inverter that accepts up to 12 kW of panels, because a house with central air conditioning and a family that has not yet moved in will find its real load only in the first year. Adding panels to an oversized inverter later is a small job; replacing an inverter is not. The owner's own estimate was that the plant would save around ₹16,000 to ₹17,000 on each two-month bill once the house was fully occupied.
Check the transformer before you pour concrete
Vennala was built before KSEB's feasibility approval was in hand, which sounds risky. It was not, because KSEB has a public portal that shows the loading on each transformer, and the local transformer had headroom. Look yours up before you commit to a design, and if the transformer is close to full, talk to your installer about a zero-export configuration to bridge the wait. Build the conduits regardless; they cost nothing and the plant can follow when approval comes.
Your roof, next
Want these numbers for your own house?
A free one-hour roof survey by a SEDNA engineer. Honest size, subsidy filed, quote in writing.
- 4.9 on Google
- 2,500+ installations
- MNRE-approved
- Since 2009