

PM Surya Ghar: Muft Bijli Yojana is straightforward when the paperwork is done right and maddening when it is not. This is the complete walkthrough as we execute it for customers, published so you know what should be happening on your file at every stage, whoever installs your system.
Before you start: eligibility and documents
You need a residential KSEB connection in your name, a roof you have rights to, and a bank account for the subsidy transfer. Keep ready: your KSEB consumer number (on any bill), Aadhaar, a cancelled cheque or passbook copy, and a recent electricity bill. The subsidy slabs: ₹30,000 per kW up to 2 kW, ₹18,000 for the third kW, capped at ₹78,000 for systems of 3 kW and above. Housing societies have a separate track for common facilities at ₹18,000 per kW.
Step 1: Portal registration
Registration happens on the national portal, pmsuryaghar.gov.in, against your state, distribution company (KSEB), consumer number and mobile. You then log in and submit the application for rooftop solar, selecting capacity. This is the stage where your installer matters already: capacity should follow the survey, not the slab. Filing for 3 kW because the subsidy caps there, when your roof and bill justify 5, costs you 25 years of generation to save nothing.
Step 2: Feasibility approval from KSEB
KSEB reviews the application against your connection and local network and issues feasibility approval. This usually moves in days to a few weeks. Nothing should be installed before it arrives; a system built ahead of feasibility risks its subsidy eligibility entirely, a mistake we still see from hurry-up installers.
Step 3: Installation by a registered vendor
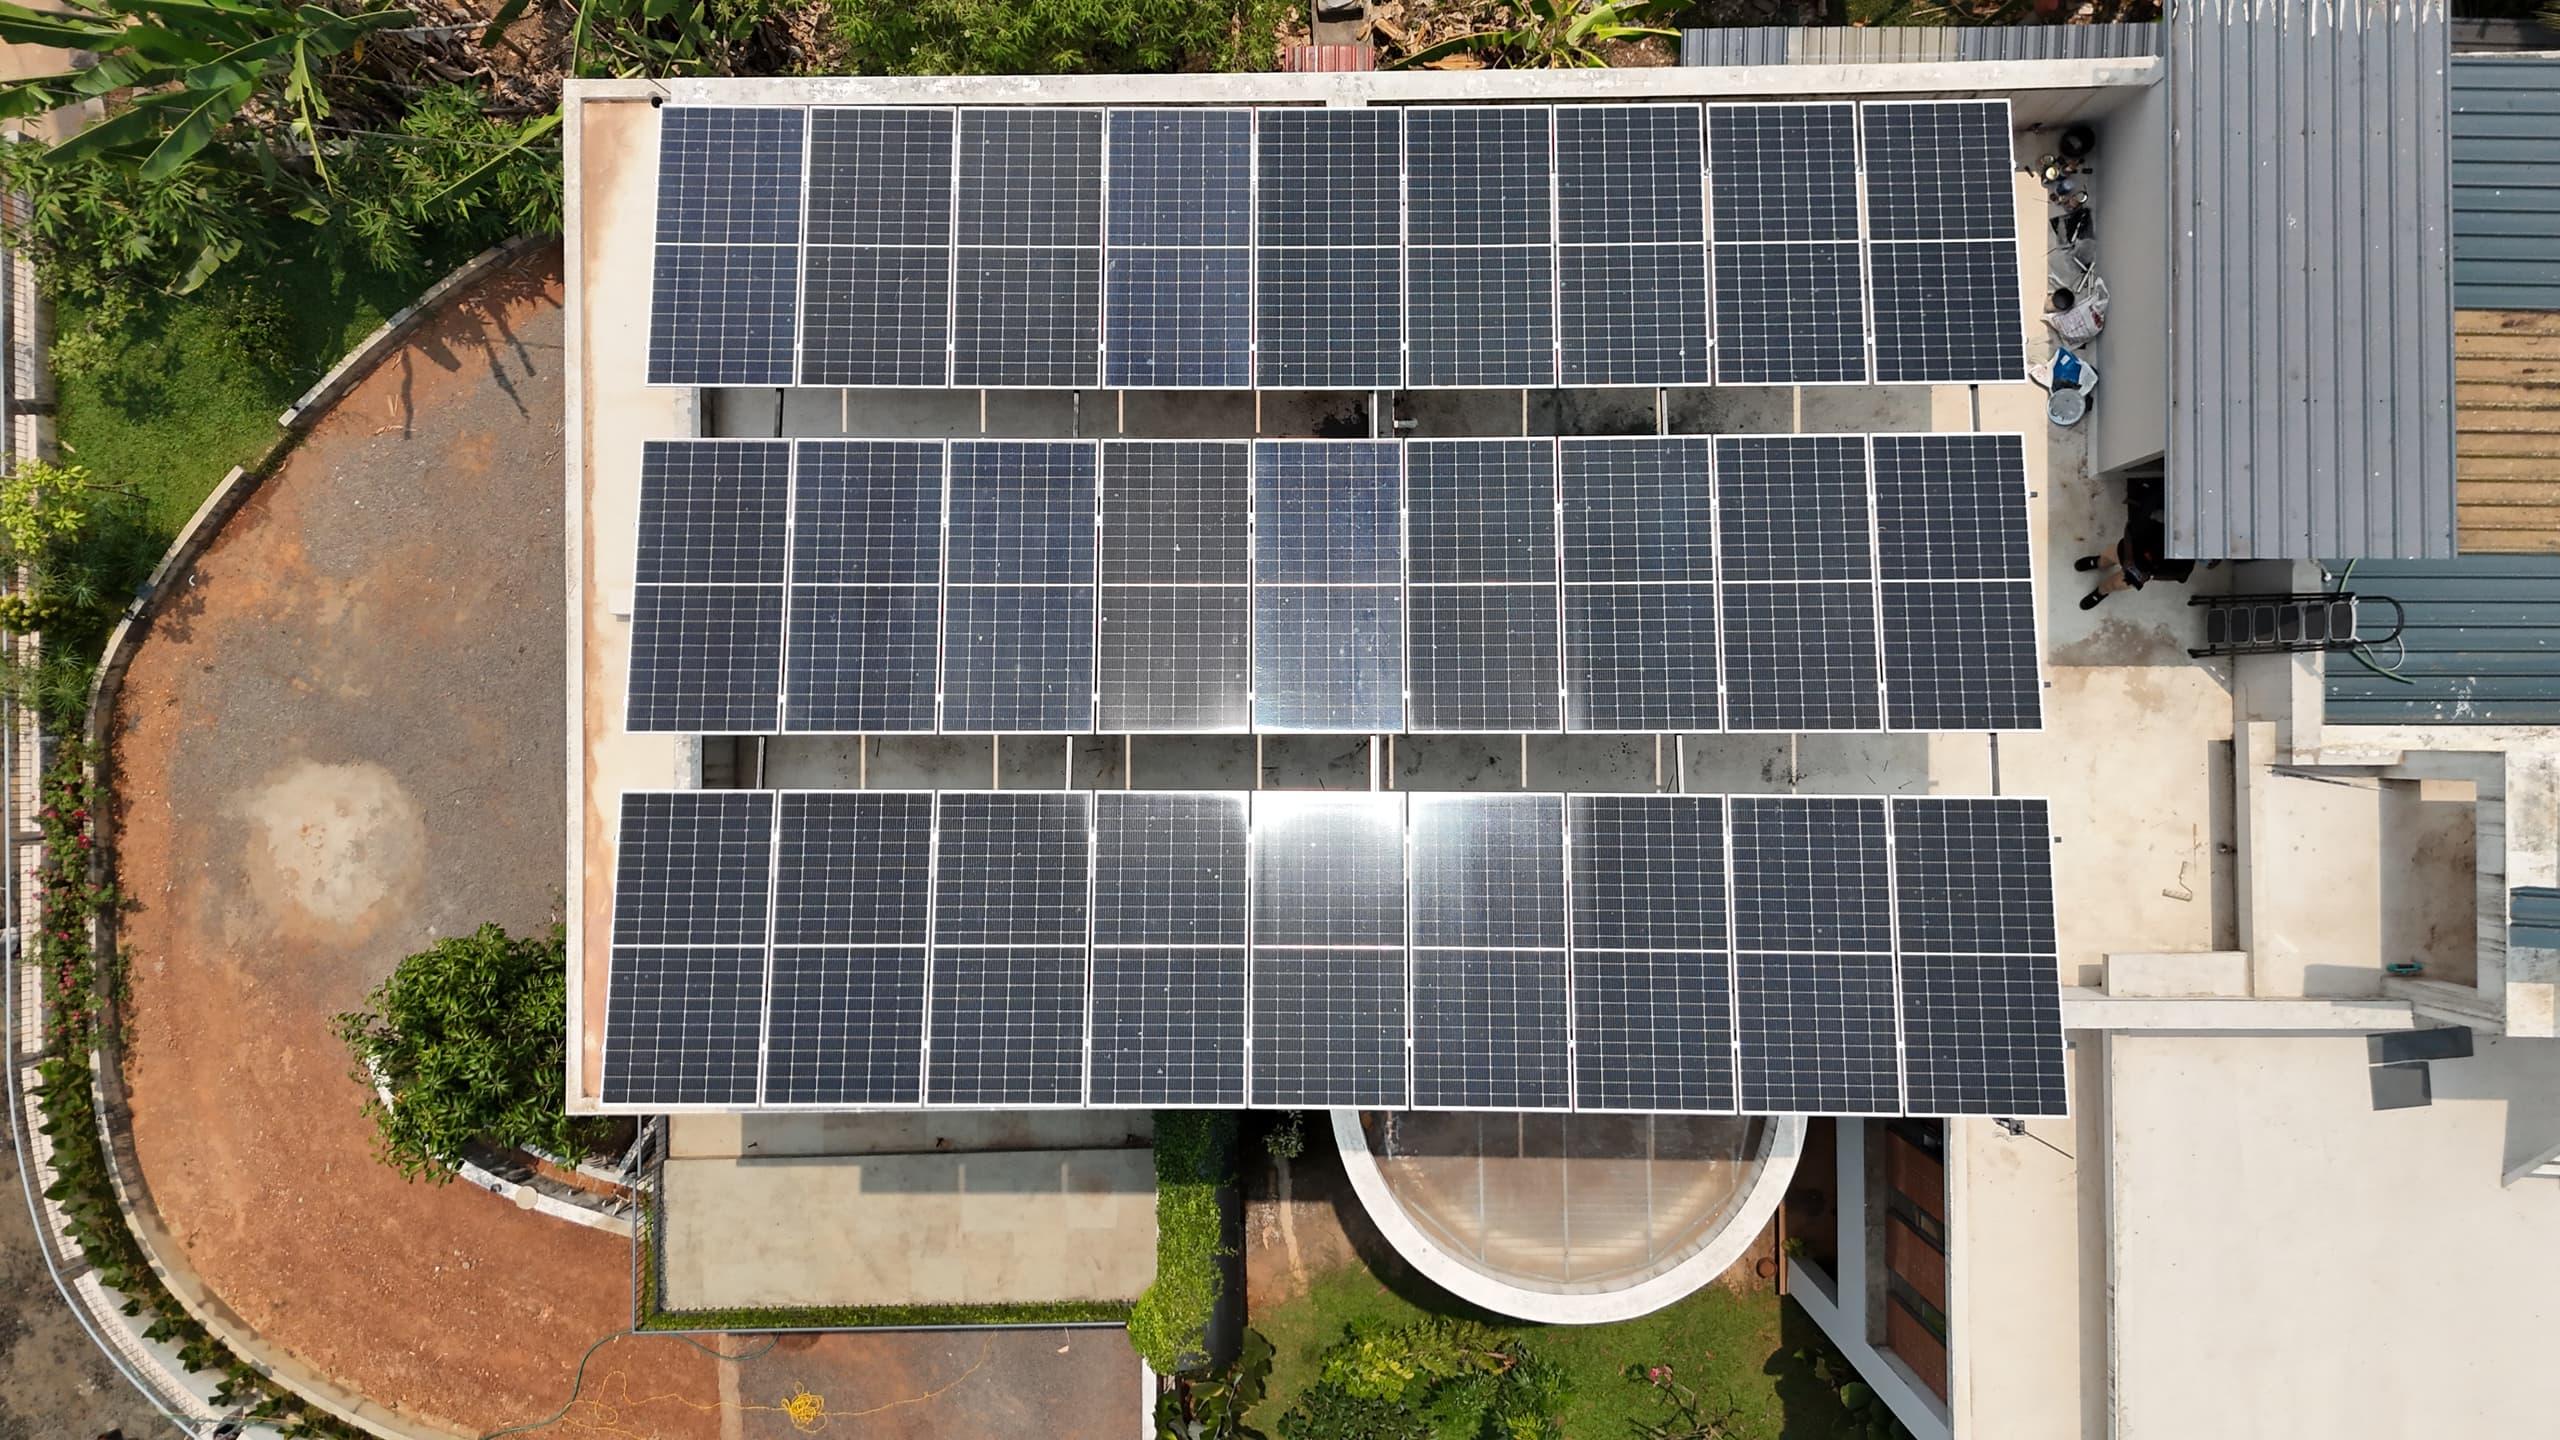
The scheme requires installation by a vendor registered with the DISCOM, using ALMM-listed DCR panels. This is where the physical work happens: structure, panels, inverter, earthing, protection and cabling, typically 2 to 3 days for a home system. Insist that what goes on the roof matches what the quotation named; the inspection that follows will check.
Step 4: Inspection, net metering and commissioning
After installation you submit commissioning details on the portal, and KSEB inspects the plant: wiring, earthing, protections and equipment against the application. Cleared, your bidirectional meter is installed and the system is formally commissioned to the grid. Meter availability at the local section office is the single most common source of delay in the whole journey; a good installer chases this file weekly.
Step 5: The subsidy lands
With commissioning recorded, the subsidy processes to the bank account you registered, direct from the scheme. Across our recent installations the money has typically arrived within 30 to 90 days of commissioning. It comes to you, never to the installer: any company proposing to collect it on your behalf, or to discount it off the quote and keep the transfer, is running the oldest trick in the book, covered at length in our scam-alert guide.
The realistic timeline, end to end
Survey to commissioning commonly runs four to eight weeks, dominated by approval and meter queues rather than construction. The subsidy follows a month or three behind. Slower than the advertisements, faster than the horror stories, and almost entirely a function of whether someone is actually following your file.
When SEDNA installs, the entire walkthrough above is our work, not yours: we file, track and chase every stage, and you can verify each step yourself on the portal at any time. That transparency is the point of publishing this guide.
Your roof, next
Want these numbers for your own house?
A free one-hour roof survey by a SEDNA engineer. Honest size, subsidy filed, quote in writing.
- 4.9 on Google
- 2,500+ installations
- MNRE-approved
- Since 2009